Do you remember the scene in “Cast Away” when Tom Hanks stands on the beach, pounds his chest, and bellows at the ocean: "I made fire!"
That’s exactly how we felt when we made our first batch of homemade maple syrup!
If you've ever wanted to try making maple syrup at home but felt overwhelmed by the process, don't worry—it's easier than you think. In this guide, we'll walk you through everything you need to know about collecting sap, boiling it down, and turning it into delicious, golden syrup.
This article was first published in 2020.
What You Need to Know About Making Maple Syrup
Can You Really Make Maple Syrup at Home?
Absolutely! Many people assume you need expensive equipment or a professional sugar shack, but that’s not the case. We started with just a few rented sap buckets, a stockpot, and our kitchen stove—and ended up with delicious homemade syrup.
The Truth About Maple Sap
If you think maple sap flows straight from the tree as thick, sweet syrup, think again! When it first comes out, sap looks and tastes like plain water. It takes hours of boiling to concentrate the sugars and transform it into syrup.
 |  |
Want more Maple Fun? Read: Sweet Family Fun Awaits at 2025 NWPA Maple Taste & Tour, March 15 & 16, 2025
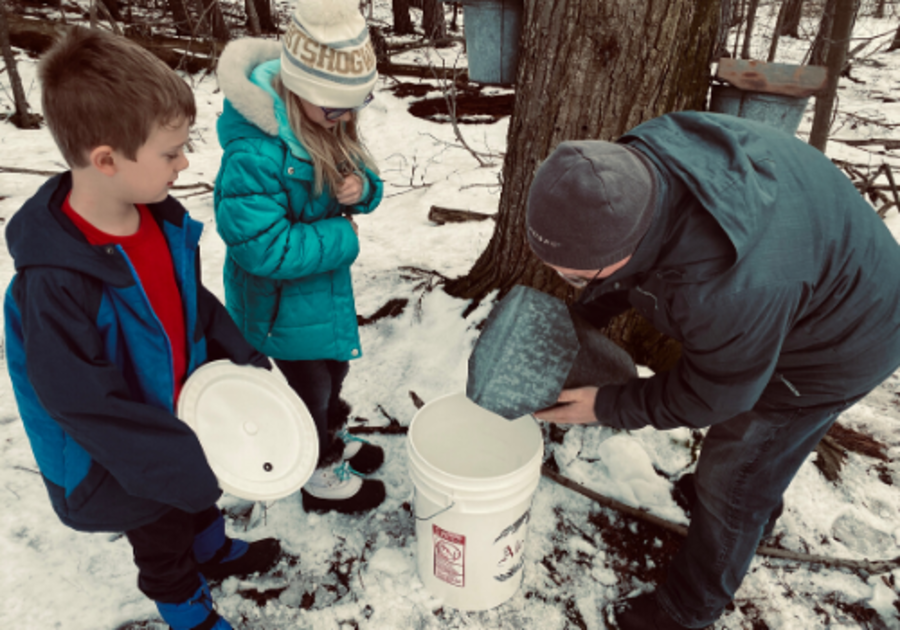
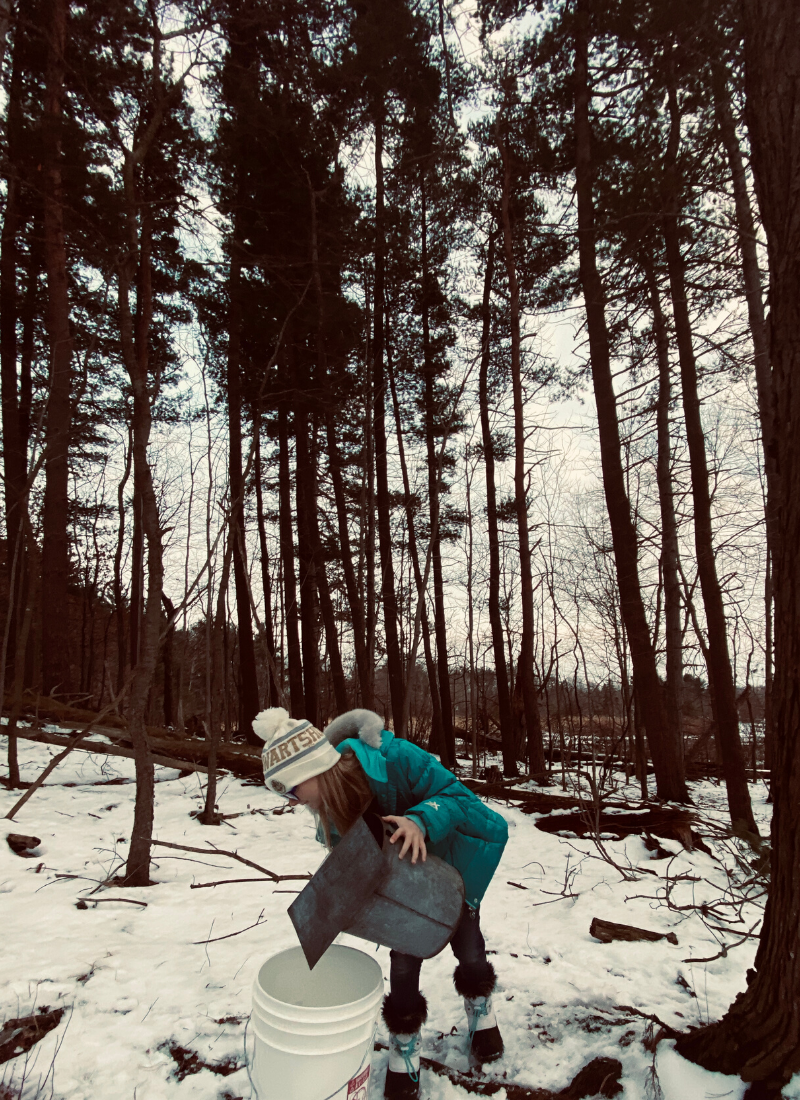
How We Started: Renting Sap Buckets
We found out we could rent sap buckets from Asbury Woods. This made the process easy because they tapped the trees for us and gave us all the instructions we needed.
If you don’t have access to rented taps, you can tap your own backyard trees. Sap collection season typically runs from February to April, depending on where you live. You can buy taps, buckets, and other equipment from places like A. Caplan Co. in Waterford and Kraus' Department Store in downtown Erie.
Tip from the Experts:
Store your collected sap in a cold place, such as a refrigerator or a cold garage, to keep it fresh. It can spoil if it gets too warm!
How to Make Maple Syrup in Your Kitchen
Step 1: Gather Your Equipment
- Before you start, make sure you have:
✔️ A large stockpot
✔️ A smaller saucepan
✔️ A thermometer (a candy thermometer or digital meat thermometer works)
✔️ A vented stovetop or an outdoor cooking setup
✔️ A strainer (cheesecloth or coffee filter)
✔️ A glass jar for storing your syrup
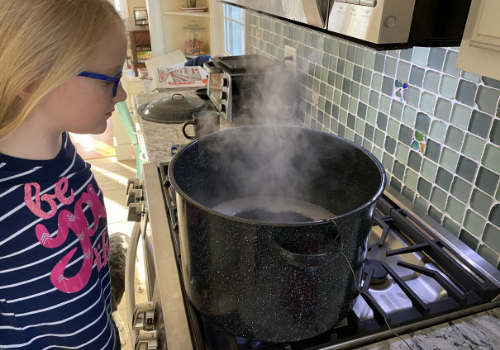 |
Step 2: Boiling the Sap
1️⃣ Fill a large stockpot about halfway with sap.
You can strain it first to remove any debris.
2️⃣ Place the pot on high heat.
Turn on your vent fan to prevent sticky residue in your kitchen. If you don’t have good ventilation, consider boiling outdoors.
3️⃣ Keep adding sap as it evaporates.
We refilled our pot three times before all four gallons had been used up.
Step 3: Monitoring the Temperature
4️⃣ Use a thermometer to track the temperature.
Maple syrup is ready at 219°F (104°C), which is about 7°F above the boiling point of water.
5️⃣ Transfer to a smaller saucepan.
Once you're down to just a little liquid, switch to a smaller pot to control the temperature more easily.
Step 4: The Final Stages
6️⃣ Be patient—it takes time!
For us, it took a little over five hours for our sap to boil down to syrup.
7️⃣ Watch for the temperature jump!
Most of the time, our sap stayed at 211°F (just below boiling). Then, suddenly, it shot up to 219°F—which meant it was ready!
Be careful—if the temperature gets too high, the syrup will crystallize.
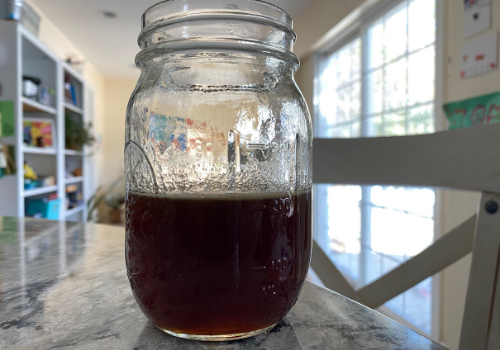
Step 5: Storing Your Maple Syrup
8️⃣ Pour the finished syrup into a glass jar.
We used a Mason jar, and it worked perfectly.
That first taste, fresh from the stove? Absolutely amazing!
 |
Final Thoughts: Is It Worth It?
Making maple syrup at home was an incredible experience. It required patience, but the results were well worth it. Seeing four gallons of sap transform into one cup of rich, golden syrup was nothing short of magic for me and my kids.
And as Tom Hanks might say: We made syrup! 🍁🔥
Common Questions About Making Maple Syrup
1. Do I Need Fancy Equipment to Make Maple Syrup?
No! While professional sugarmakers use specialized gear, you can make syrup with just a stockpot, a stove, and a thermometer.
2. Does Boiling Sap Indoors Make Everything Sticky?
Some people say boiling sap inside leaves a sticky film on surfaces. We didn’t experience this, possibly because we only had four gallons of sap and used our vent fan.
3. How Much Sap Do I Need to Make Maple Syrup?
It takes about 40 gallons of sap to make 1 gallon of syrup. Since we started with 4 gallons, we ended up with 1 cup of syrup.
4. How Long Does It Take to Make Syrup?
From start to finish, our batch took about five hours to boil down. Larger batches may take longer.
5. Can I Tap Trees in My Backyard?
Yes! If you have sugar maples, red maples, or even boxelder trees, you can tap them. You’ll need a drill, a spile (tap), and a collection bucket.
6. How Should I Store Homemade Maple Syrup?
Store your syrup in a sealed glass jar in the refrigerator. It can last for months. You can also freeze it for longer storage.